How to Create an Aged Painted Finish on a Mora Clock
- moraclocks.co.uk

- Jun 3
- 4 min read
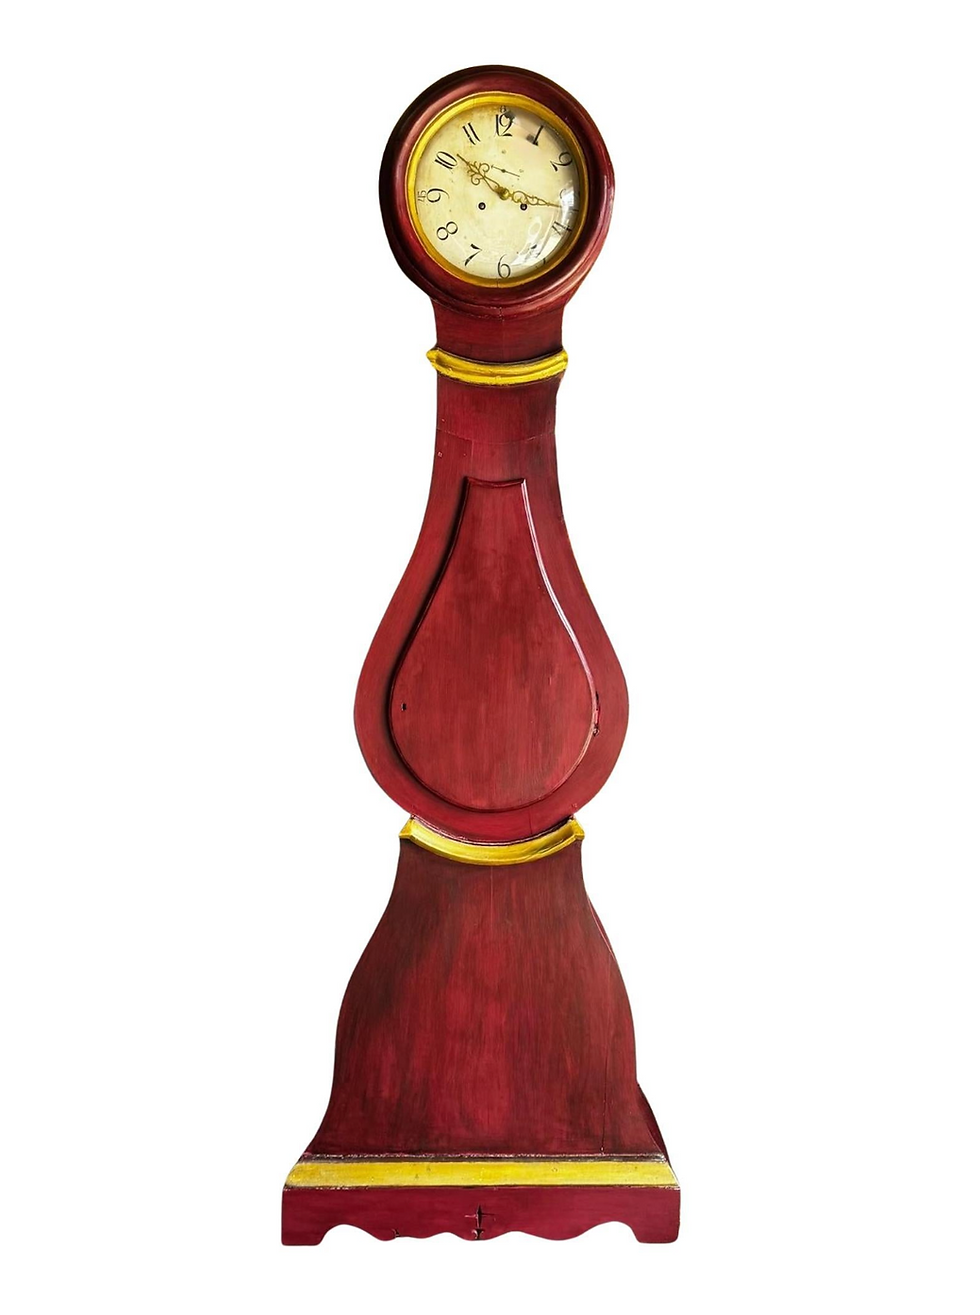
Mora clocks are famous for their soft curves, elegant waisted bodies and gently aged painted finishes. Many antique Swedish Mora clocks were originally painted in pale Gustavian colours: chalky whites, warm greys, soft blues, muted greens and dry cream tones. Over time, those painted surfaces naturally wore back around the edges, handles, mouldings and door frames, creating the beautiful patina collectors love today.
If your Mora clock already has an original untouched antique finish, think carefully before repainting it. Original paint can add value and character, and heavy sanding or modern repainting may reduce both. But if the clock has already been poorly painted, stripped, badly restored or finished in a colour that does not suit your home, repainting it with a sympathetic aged finish can bring it back to life.
What You Will Need
You will need:
Sugar soap or mild cleaner
Fine sandpaper or sanding pads
Primer suitable for painted wood
Chalk paint, mineral paint, milk paint or good-quality eggshell paint
Two or three complementary paint colours
Small brushes for mouldings
Larger soft brush for the body
Clear wax or matt varnish
Dark wax, antiquing glaze or diluted umber/brown paint
Clean cloths
Masking tape
Dust mask and gloves
Older painted furniture can contain lead-based paint, so avoid aggressive dry sanding. If you suspect old paint is present, use light wet abrasion, wear protection and clean up dust carefully.
Step 1: Prepare the Clock Case
First, remove the clock weights and pendulum if they are still inside the case. Do not paint the movement, dial, hands, brassware or inner working parts. If the clock mechanism needs to come out, ask a clock restorer rather than forcing anything.
Clean the wooden case gently with mild cleaner to remove grease, wax and dirt. Mora clocks often have carved or moulded details, so use a small brush or cloth to get into the corners.
Lightly sand the surface only enough to create a key for the new paint. You are not trying to strip the clock back to bare wood. The aim is to smooth rough areas and help the new finish grip.
Step 2: Choose the Right Colour Palette
For an authentic Swedish look, avoid harsh bright white or modern glossy colours. Traditional Mora clock finishes usually look best in soft, slightly muted tones.
Good colour choices include:
Gustavian grey
Swedish blue-grey
Warm ivory
Chalk white
Pale sage green
Stone beige
Soft French grey
A beautiful aged effect often comes from layering colours. For example, use a darker grey or blue underneath, then a lighter ivory or pale grey on top. When the edges are gently distressed, the lower colour will show through and create depth.
Step 3: Prime the Surface
Apply a thin coat of primer, especially if the previous finish is shiny, dark or uneven. Let it dry fully. A primer helps prevent stains bleeding through and gives the top coats a more even base.
Do not overload the brush. Mora clock cases have shaped panels and raised mouldings, and thick paint can clog the detail. Thin coats are always better than one heavy coat.
Step 4: Apply the Base Colour
Paint the first colour over the whole clock case. This is your under-layer, so choose a colour you would like to see peeping through later. A warm grey, muted blue or soft taupe works well.
Allow it to dry, then apply a second thin coat if needed. Once dry, lightly smooth any rough brush marks.
Step 5: Add the Top Colour
Now apply your main visible colour. This might be chalk white, pale grey, ivory or Swedish blue. Use long, soft brush strokes following the shape of the case. On the curved belly of a Mora clock, avoid heavy straight lines that fight the form of the piece.
Let the paint settle into the character of the wood rather than trying to make it look factory-perfect. Antique Swedish furniture should not look sprayed, plastic or too new.
Step 6: Create Gentle Wear
Once the top coat is dry, use fine sandpaper or a damp cloth to distress the areas that would naturally wear over time.
Focus on:
Edges of the door
Corners and mouldings
Raised carvings
Around the base
Around the hood and waist
Handle or key areas
Go slowly. The best aged finishes look accidental, not scratched. Step back often and check the overall balance. Too much distressing can make the clock look artificially “shabby chic” rather than genuinely antique.
Step 7: Add Age with Glaze or Wax
To give the finish depth, apply a very thin antiquing glaze or dark wax into corners, mouldings and recessed areas. Wipe most of it away immediately with a clean cloth. The aim is to leave a little warmth and shadow, not brown streaks everywhere.
For a softer Swedish look, use grey-brown rather than strong black. You can also dry-brush a little pale paint over raised details afterwards to restore lightness.
Step 8: Seal the Finish
Finally, protect the clock with clear wax or a flat matt varnish. Wax gives a soft, traditional glow, while matt varnish offers more durability. Avoid anything too shiny. Mora clocks look best with a quiet, dry, hand-painted surface.
Allow the finish to cure properly before replacing weights, pendulum or internal parts.
Final Thought
A well-aged Mora clock finish should feel calm, elegant and natural. The secret is restraint: soft colours, thin layers, gentle wear and subtle shadow. Done carefully, repainting can transform a tired clock into a beautiful Gustavian-style centrepiece while still respecting its Swedish antique character


Comments