How to Set Up an Antique Swedish Mora Clock with Weights and Pendulum
- moraclocks.co.uk

- 1 day ago
- 10 min read
An antique Swedish Mora clock is not just a beautiful piece of Scandinavian furniture. It is also a simple but clever mechanical machine. Before batteries, plugs or quartz movements, these clocks worked using two basic forces: gravity and rhythm. The weights provide the power, and the pendulum controls the speed.
For many new owners, the clockwork can look slightly mysterious at first. There are weights, cords, pulleys, a pendulum, a dial, hands, a bell or strike mechanism, and the metal movement itself. But once you understand the basic order of things, setting up an original Mora clock becomes much less intimidating.
This guide explains how to set up an antique Swedish Mora clock mechanism with weights and pendulum, how to start it safely, and how to make small adjustments so it has the best chance of running properly.
Before beginning, remember one golden rule: an antique clock should never be forced. If something does not move easily, stop and ask a professional clock restorer or horologist. Antique clock movements are precision mechanisms, and heavy-handed adjustment can cause damage. BADA’s antique clock care guidance also recommends that servicing and restoration work should be entrusted to a qualified horologist who specialises in antique clocks.
Understanding How a Mora Clock Works
Most traditional Swedish Mora clocks are longcase clocks. That means the clock mechanism sits in the top section behind the dial, while the long case below gives space for the weights and pendulum to hang and move.
A traditional weight-driven movement usually has two jobs:
The going train — this keeps the hands moving and tells the time.
The striking train — this operates the bell or strike, usually on the hour.
The weights supply power to the movement. As they slowly descend, they turn the internal wheels of the clock. The pendulum does not power the clock; instead, it regulates the speed. Each swing of the pendulum allows the movement to release a tiny amount of power in a controlled rhythm.
This is why the sound of the tick matters so much. A healthy pendulum clock should have an even rhythm: tick… tock… tick… tock. If the sound is uneven — for example tick…tock……tick…tock — the clock may be “out of beat” and can stop after a short time.
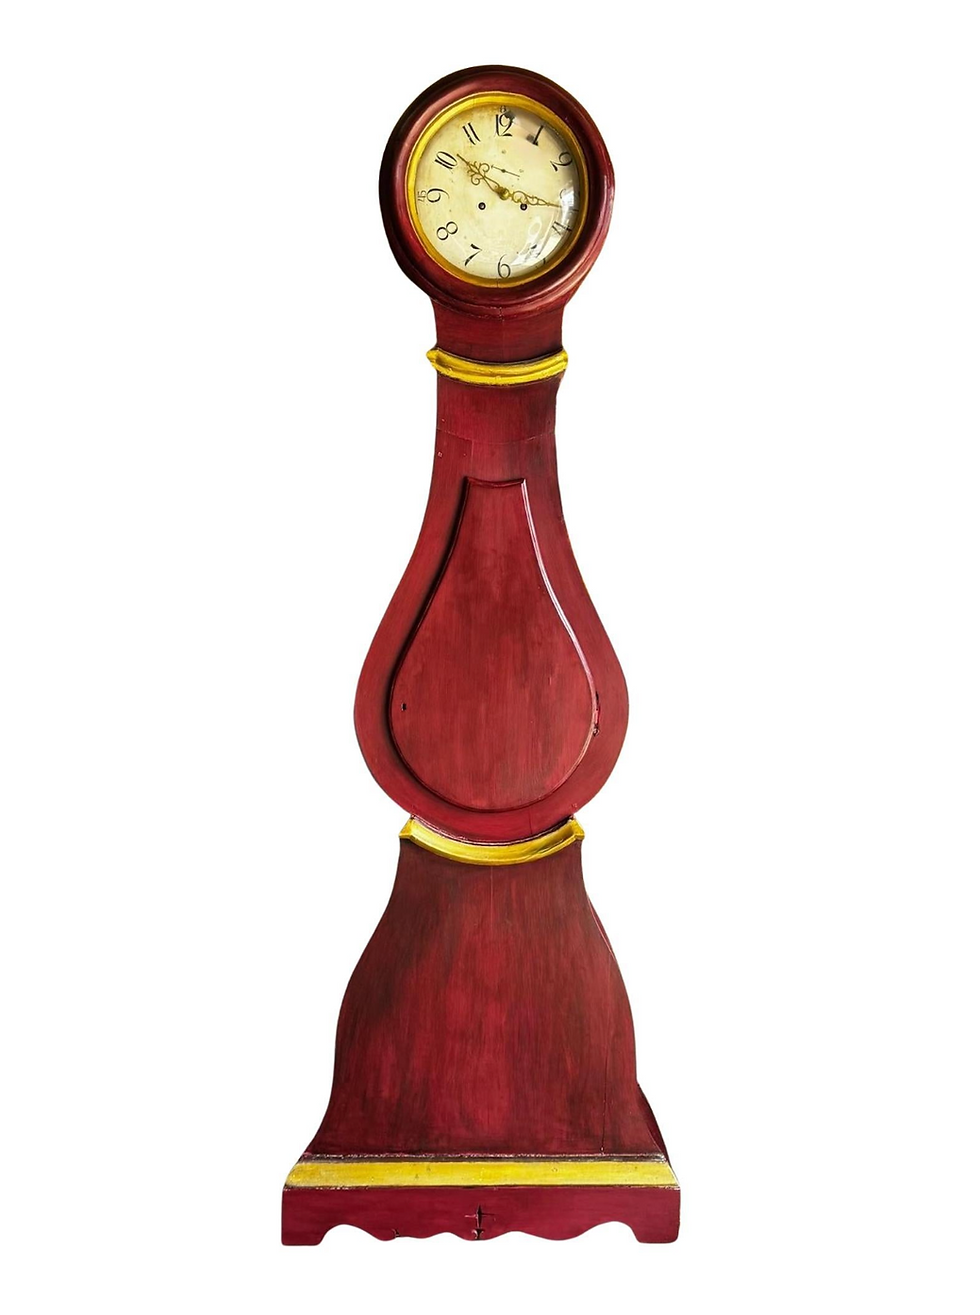
MoraClocks.co.uk specialises in original 1800s Swedish Mora clocks, including examples with original or later paint, various traditional finishes, and original or adapted mechanisms depending on the individual clock.
Before You Start: Check the Clock Is Ready
Before hanging weights or starting the pendulum, take a few minutes to inspect the clock.
Open the trunk door and look inside the case. Make sure there are no packing materials, loose pieces of paper, bubble wrap, cloth, or transport supports still inside. If the clock has recently been delivered, it may have been carefully packed to protect the pendulum, weights, bell or movement.
Check that the case is standing securely. Mora clocks are tall, narrow antiques, so they should not wobble. If the floor is uneven, the clock may need discreet shimming beneath the base or securing to the wall. This is especially important in older houses with stone, tile or timber floors.
The clock should be placed away from strong heat, damp, direct sunlight and fireplaces. Antique clocks are sensitive to their environment, and BADA warns that extreme heat, cold, damp and direct sunlight can damage antique clocks.
A good position is a stable interior wall, away from radiators, log burners, damp entrance areas and bright south-facing window glare. In luxury interiors, Mora clocks often look wonderful in hallways, drawing rooms, bedrooms and landings, but they should still be treated as antique mechanical objects, not just decorative furniture.

Step 1: Position the Case
Start by placing the Mora clock case where it will live. Do not set it up temporarily in one room and then drag it elsewhere once the movement is running. Antique clocks dislike being moved while assembled.
The case should stand as upright as possible. You do not need to achieve engineering-level perfection at the first stage, because the final adjustment is usually made by listening to the beat of the pendulum. However, the clock should be broadly level, stable and not leaning dangerously forward.
If the clock is on a wooden floor, check whether the floorboards dip. If it is on stone or tile, check whether one side of the base is sitting lower than the other. A small amount of adjustment under the base can make a big difference.
Open the trunk door and make sure there is clear space for the pendulum to swing. Nothing should touch the pendulum rod, bob, weights, cords or inside of the case.
Step 2: Fit the Movement Securely
The clock movement usually sits on a seat board or support board inside the hood. On many antique longcase clocks, the movement and dial are separate from the wooden case and must be seated correctly.
Make sure the movement is sitting squarely and securely. The dial should sit naturally behind the hood opening, with the hands visible and not rubbing against the dial glass if there is one.
Do not push the dial, bend the hands, or force the hood into place. If the hood does not slide on easily, check alignment. Antique Mora clock cases are handmade, and small irregularities are normal, but nothing should need aggressive pressure.
If the movement was removed for delivery, take your time. This is often the stage where a second pair of hands helps: one person can steady the movement while the other checks the case and hood.
Step 3: Hang the Pendulum
The pendulum is usually hung from the suspension point at the back of the movement. It must also pass through the crutch or fork, which is the small part that transfers the movement’s impulse to the pendulum.
This part is important. If the pendulum is not properly sitting in the crutch, the clock will not tick correctly.
Hold the pendulum carefully, usually by the rod rather than the bob. Guide the top of the pendulum onto its suspension point. Then make sure the rod passes through the fork or crutch so that the movement can gently push it from side to side.
Do not bend the crutch. Do not twist the suspension spring. Do not let the pendulum drop or swing wildly inside the case.
Once fitted, gently move the pendulum a very small distance to left and right. It should swing freely without scraping the backboard, touching the sides of the case, or hitting the weights.
Step 4: Attach the Weights
Mora clocks normally use weights to power the mechanism. Some have one weight, but many have two: one for timekeeping and one for the strike. The exact arrangement can vary between movements, so if your weights are labelled left and right, follow those labels.
If they are not labelled, do not guess aggressively. Many Mora-style longcase movements use one heavier weight and one lighter weight, but which side they belong on can depend on the movement. If the clock was supplied by a specialist, ask which weight goes where.
When attaching the weights, always support them with your hand. Hook each weight carefully onto its pulley or cord. Make sure the hook is properly seated before letting go. Never allow a weight to drop suddenly. A falling clock weight can damage the case, the movement, the floor, or your foot.
Once the weights are attached, check inside the trunk. The weights should hang freely and should not foul the case or touch the pendulum. BADA specifically advises opening the trunk door when winding a weight-driven longcase clock so you can see that the weights do not foul the case or pendulum.
Step 5: Wind the Clock Carefully
If the weights are already near the top of the case, the clock may already be wound. If they are low, the clock may need winding.
Use the correct key. A badly fitting key can damage the winding square. Do not use pliers, an adjustable spanner, or a key that only half fits. Antique clock care guidance stresses the importance of using the correct size key when winding.
On many 8-day longcase clocks, winding is done through holes in the dial. As you wind, watch the weights rising inside the case. Stop before they reach the movement or the top of the case. The aim is to raise the weights, not jam them into the mechanism.
Wind smoothly and steadily. If the key resists strongly, stop. Do not force it.
Some clocks wind clockwise, but not every antique movement is identical. If there is any uncertainty, ask the seller or a horologist. Pendulum of Mayfair’s longcase clock guide notes that winding direction and setup can vary by clock duration and movement type.
Step 6: Start the Pendulum
Once the movement, pendulum and weights are in place, gently move the pendulum to one side and release it. Do not shove it hard. A small, confident push is enough.
Now listen.
A clock that is happy will usually settle into an even rhythm:
tick… tock… tick… tock… tick… tock
If the clock ticks evenly and keeps going, leave it alone for a while. Do not immediately start adjusting everything. Antique clocks often need a little time to settle after delivery or movement.
If it ticks briefly and stops, the first thing to check is not the mechanism. It is the beat.
Step 7: Listen for an Even Beat
The “beat” is the rhythm of the tick and tock. A pendulum clock needs an even beat to run reliably. If one side of the swing is shorter than the other, the clock may run for a few minutes and then stop.
Listen carefully from the front of the clock.
A good beat sounds balanced:
tick… tock… tick… tock
A poor beat sounds lopsided:
tick…tock……tick…tock……tick
If the beat is uneven, the clock may not be standing in the position the mechanism wants. This does not always mean the clock case is visually level. Antique clocks often care more about mechanical beat than modern spirit-level perfection.
Step 8: Adjust the Level Gently
The safest beginner adjustment is usually to alter the position of the case very slightly.
Try raising one side of the clock case by a tiny amount using a thin shim under the base. Then start the pendulum again and listen. If the beat improves, continue gently in that direction. If it gets worse, try the other side.
Small adjustments matter. A thin piece of card, veneer, felt pad or wood can change the beat noticeably.
Do not start bending internal parts unless you know exactly what you are doing. The crutch may sometimes be adjusted by a clock repairer, but for most owners it is safer to adjust the clock’s standing position and call a horologist if that does not solve the issue.
The goal is not just to make the case look level. The goal is to make the clock sound even.
Step 9: Set the Time
Once the clock is ticking evenly, set the time.
The safest general rule with antique striking clocks is to move the minute hand clockwise only. BADA advises that when correcting time on antique clocks, the hands should only be turned clockwise, particularly on striking clocks.
Move the minute hand gently. If the clock strikes, allow it to complete its strike before continuing. Do not force the hands quickly past the hour or half-hour if the mechanism is trying to strike.
Do not move the hour hand unless you know it is designed to be moved. On many antique clocks, the minute hand is the correct hand to use for setting.
If the clock strikes the wrong number, that may need separate adjustment. Do not panic, but do not force anything. Strike correction depends on the individual movement.
Step 10: Regulate the Timekeeping
After the clock is running, check whether it gains or loses time over 24 hours.
The pendulum usually has a small rating nut below the pendulum bob. This adjusts the effective length of the pendulum.
The basic rule is:
Pendulum bob up = clock runs fasterPendulum bob down = clock runs slower
Make small changes only. A half turn or one full turn of the nut can make a noticeable difference. After each adjustment, let the clock run for a day before judging it again.
Do not expect a 200-year-old antique Mora clock to behave like a modern quartz clock. A well-set mechanical clock can keep charmingly good time, but its real value lies in its beauty, age, craftsmanship and presence.
Common Reasons a Mora Clock Stops
If your Mora clock starts and then stops, these are the most common causes:
The case is not standing in the right position.The beat is uneven.The pendulum is touching the case or weights.The weights are fouling inside the trunk.The movement is dry, dirty or worn.The cords or lines are tangled.The hands are touching each other, the dial or the glass.The clock has been recently moved and has not settled.
The first checks should always be simple: make sure the pendulum swings freely, the weights hang freely, and the beat sounds even.
If the clock still stops, do not compensate by adding extra weight. Extra weight can increase wear on an old movement. If a clock only runs when you pull on a weight or add force, it likely needs professional attention.
Should You Oil the Movement?
This is where many owners accidentally do more harm than good.
Do not spray WD-40 or household oil into an antique clock movement. Do not over-oil it. Do not oil dirty pivots in the hope that it will magically fix the problem. Oil mixed with dust can become an abrasive paste.
Clock oiling should be done sparingly, with the correct oil, in the correct places, ideally after the movement has been inspected. If the movement is dirty, worn or dry, proper cleaning and servicing may be needed.
A good antique clock specialist can inspect the pivots, bushes, wheels, cords, strike mechanism, suspension and hands. That is far better than trying random home remedies.
Living with an Antique Mora Clock
An original Swedish Mora clock is part sculpture, part furniture, part clockmaking history. It may need winding, gentle regulation and occasional professional care, but that is also part of its charm.
For UK and US buyers, this is one of the pleasures of owning a real antique rather than a reproduction. You are not simply buying a decorative object. You are living with a piece of Swedish domestic history: a hand-shaped case, an aged painted surface, a mechanical heart and the quiet rhythm of a pendulum.
At MoraClocks.co.uk, many buyers choose a Mora clock first for its beauty — the curved Swedish silhouette, original painted finish, decorative face and elegant proportions. Whether the original mechanism is kept, restored or adapted depends on the individual clock and the buyer’s needs. But when an antique Mora clock is running well, the sound of the pendulum adds another layer of atmosphere to the home.
It gives a hallway, sitting room or bedroom something no modern object can quite imitate: movement, rhythm, age and soul.
Final Advice
Setting up an antique Swedish Mora clock is not difficult if you work slowly and gently. Place the case securely, hang the pendulum correctly, attach the weights carefully, wind with the proper key, start the pendulum, and listen for an even beat.
Most problems come from rushing, forcing, or assuming the mechanism is broken before checking the basics. A clock that stops may simply be slightly out of beat. A pendulum that will not swing may be touching the case. A weight may be catching inside the trunk.
But if the clock resists, makes harsh noises, refuses to run despite careful setup, or appears damaged, the best next step is always a qualified horologist.
A fine Mora clock deserves patient handling. Treat it with respect, and it can reward you not only as a beautiful antique but as a living, ticking presence in your home.


Comments