Mora Clock Face Repair
- moraclocks.co.uk

- Feb 19, 2025
- 1 min read
Updated: Mar 12, 2025
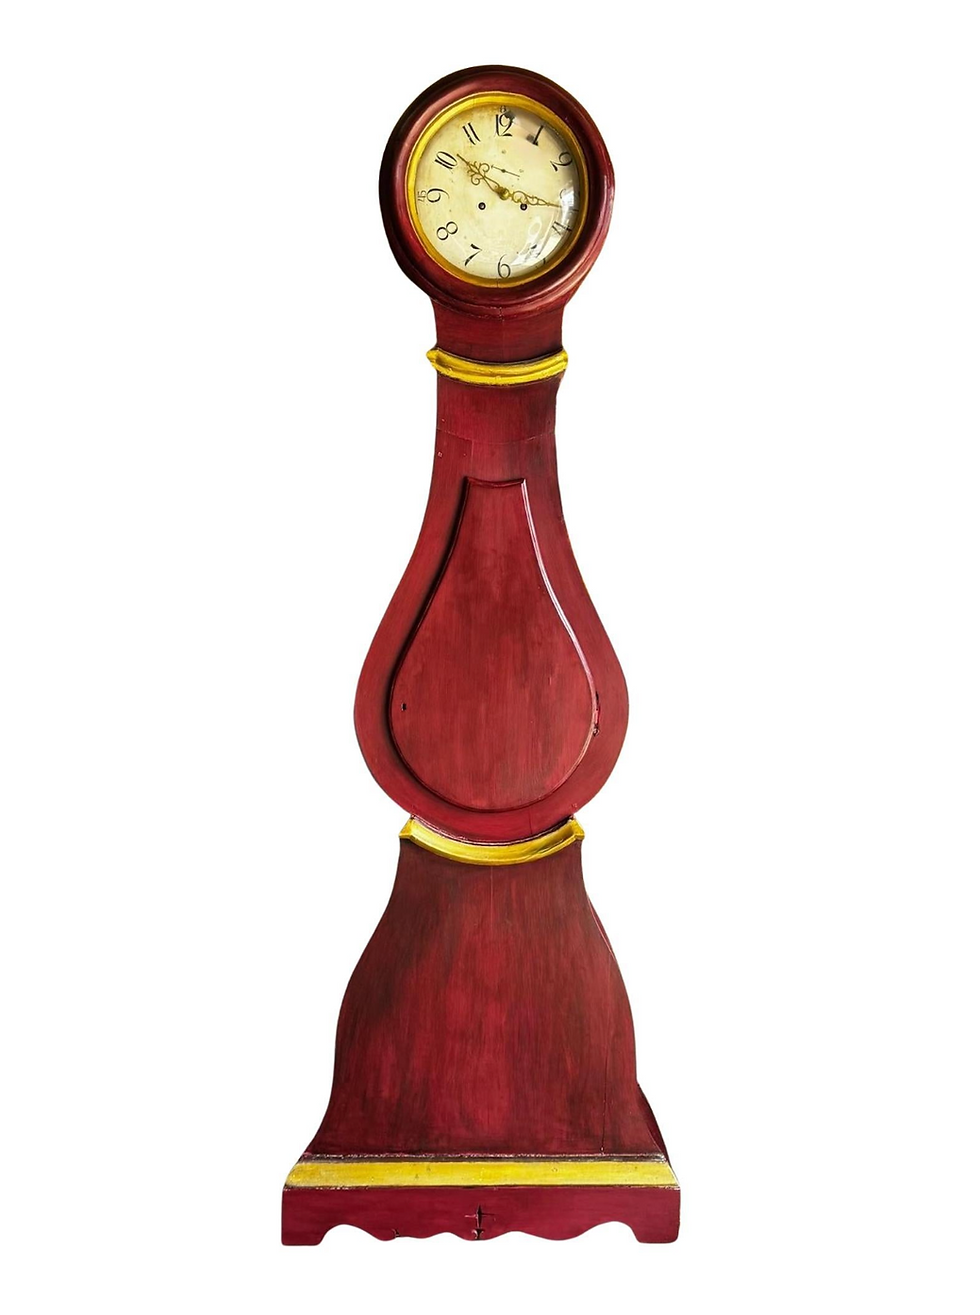
Painting a Mora clock face requires careful preparation, attention to historical details, and a steady hand. Here’s a step-by-step guide to help you achieve an authentic and beautiful finish:
Materials Needed:
Sandpaper (fine and medium grit)
Primer (white or light-colored)
Acrylic or chalk paint (historical colors like soft blues, greys, or creams)
Detail brushes
Stencils or hand-drawn guides for numerals and decorations
Gold or black paint for numbers and hands
Clear varnish or wax (matte or satin finish)
Steps to Paint a Mora Clock Face:
1. Preparation
If the clock face is old, clean it thoroughly to remove dirt and dust.
Lightly sand the surface to create a smooth base.
Wipe it down with a damp cloth and let it dry completely.
2. Priming
Apply a thin coat of primer and let it dry fully. This helps the paint adhere better and prevents discoloration.
3. Base Coat
Choose a traditional Mora clock color (soft pastels, muted whites, or aged grey).
Apply two thin coats of your base paint, allowing each to dry completely.
Lightly sand between coats for a smooth finish.
4. Adding Details
Numerals: Use a stencil or freehand numbers in Roman or Swedish-style fonts (often elongated and elegant).
Decorations: Many Mora clocks feature floral, scrollwork, or folk-art patterns. Lightly sketch your design in pencil before painting.
Shading & Aging: Lightly dry-brush darker tones around edges for an aged look.
5. Finishing Touches
Paint the clock hands in black or gold.
Allow all paint to dry completely.
Seal the surface with a clear varnish or wax for protection.


Comments